There’s a certain nostalgia that comes with pineapple upside down cake that’s impossible to deny. From its golden caramelized pineapple rings to the glossy maraschino cherries nestled in between, this classic dessert feels like a sweet trip down memory lane. Whether it was served at a family gathering, a holiday table, or discovered through the pages of a vintage cookbook, the upside down cake has a way of charming everyone who tastes it.
First appearing in the early 20th century, this cake rapidly became a beloved classic in American homes, particularly following the widespread availability of canned pineapple. Its signature presentation — fruit at the bottom, flipped to the top — is not just eye-catching, but also packs a flavor punch. The fruit bakes into the buttery brown sugar base, infusing the whole cake with rich, tropical notes and a delightful sticky topping.
But what makes a pineapple upside down cake truly special is how easy it is to prepare. With just a few pantry staples and a handful of ingredients, you can whip up a show-stopping dessert that looks like it took hours. Whether you’re a seasoned baker or trying it for the first time, this recipe delivers a foolproof cake that’s fluffy, moist, and bursting with flavor.
Ingredients You’ll Need
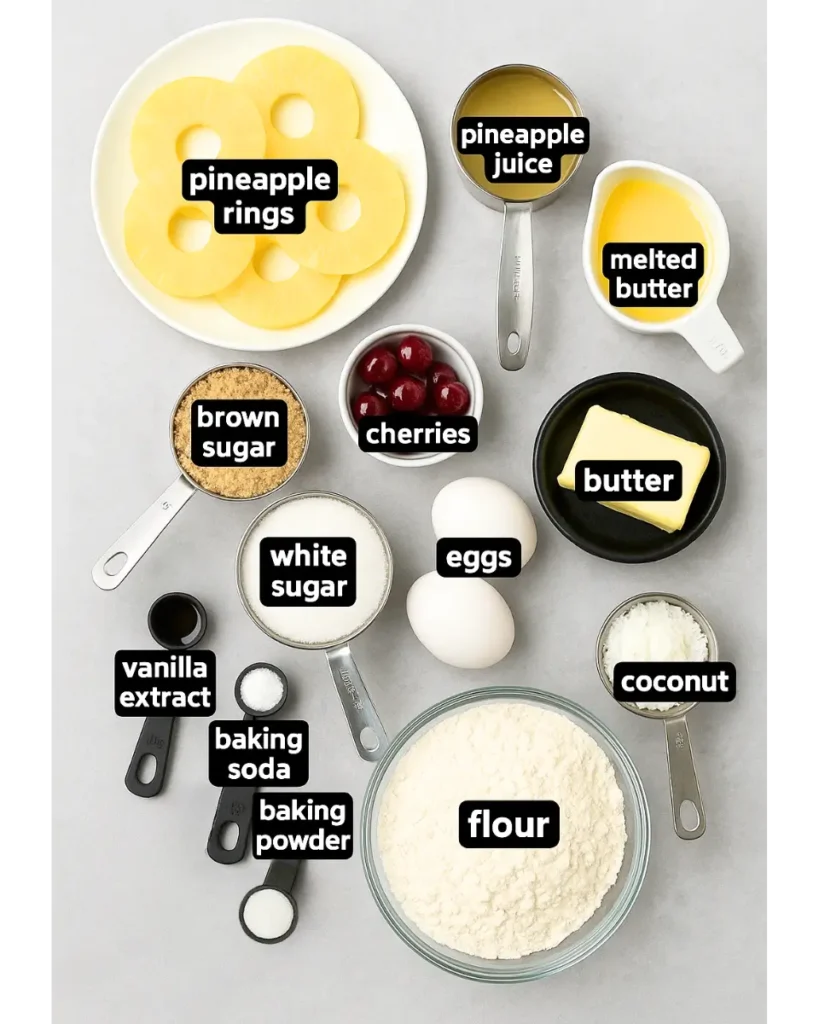
Before you dive into making this pineapple upside down cake, let’s go over the essential ingredients. Each one plays a specific role in creating that iconic flavor, texture, and signature caramelized topping. The good news? The majority of these items are pantry essentials or readily available at your neighborhood grocery store.
For the Topping:
- Pineapple slices – Canned pineapple rings are ideal for convenience and uniformity, though fresh pineapple can be used as long as it’s sliced thinly. Make sure to pat them dry to prevent excess moisture.
- Maraschino cherries – These are optional, but they offer a vibrant pop of color and enhance that classic retro charm. Set a cherry in the middle of every pineapple ring.
- Tasks. Place a maraschino cherry in the center of each pineapple ring to complete the classic decorative look.
- Unsalted butter – Melts into the brown sugar to create that sticky-sweet base. Use high-quality butter for the richest flavor.
- Brown sugar – This is the magic ingredient for the caramelized topping. Light brown sugar adds sweetness and moisture, while dark brown sugar gives a deeper molasses flavor.
For the Cake Batter:
- All-purpose flour – A reliable, versatile flour that provides the necessary structure and stability to the cake. Sift it for a lighter crumb.
- Granulated sugar – Provides sweetness and contributes to a soft, tender crumb.
- Baking powder–helps the cake rise, resulting in a light and fluffy texture.
- Salt – A tiny pinch of salt improves the flavor and helps to offset the sweetness.
- Unsalted butter – Adds rich flavor and moisture, creating a luscious batter.
- Eggs – Bind the batter and give the cake its light, springy texture.
- Milk (or buttermilk) – Keeps the cake moist. Buttermilk adds a tangy depth, but regular milk works just fine.
- Vanilla extract – For warm, aromatic notes that complement the pineapple beautifully.
Optional Flavor Boosts:
- Cinnamon or nutmeg – A pinch adds warmth and spice.
- Dark rum – A splash mixed into the batter or drizzled over the baked cake adds a grown-up twist.
How to Make Pineapple Upside Down Cake
This pineapple upside down cake recipe is simple to make but looks impressive every time. Below, you’ll find a step-by-step breakdown so you can bake it with confidence, even if it’s your first try.
Step 1: Preheat and Prepare Your Pan
Start by preheating your oven to 350°F (175°C). Grease a 9-inch round cake pan (or use a cast-iron skillet for an old-school vibe) with butter or nonstick spray.
In the pan, melt ¼ cup of unsalted butter and sprinkle ½ cup of brown sugar evenly across the bottom. This will become your gooey, caramelized top once the cake is flipped.
Step 2: Arrange the Topping
Place pineapple rings over the sugar mixture, slightly overlapping if needed. Place a maraschino cherry in the center of each pineapple ring for a pop of color and that signature vintage look. You can also tuck in extra cherries or smaller pineapple bits in the gaps for a fuller look.
Tip: Pat the fruit dry with a paper towel before using it to prevent the topping from turning soggy.
Step 3: Make the Cake Batter
In a medium bowl, whisk together:
- 1½ cups all-purpose flour
- 1½ teaspoons baking powder
- ¼ teaspoon salt
In a separate bowl, cream together:
- ½ cup (1 stick) unsalted butter, softened
- ¾ cup granulated sugar
Beat until light and fluffy (about 2–3 minutes). Then, add:
- 2 large eggs (one at a time)
- 1 teaspoon vanilla extract
Mix thoroughly, then gradually add the dry ingredients and ½ cup of milk (or buttermilk) to the wet mixture, alternating between the two and beginning and ending with the dry ingredients. Mix gently until combined, being careful not to overmix to maintain a tender cake.
Step 4: Assemble and Bake
Carefully spoon the batter over the arranged pineapple rings and cherries, spreading it evenly without disturbing the fruit. Smooth the top with a spatula so it’s evenly spread.
Bake for 40–45 minutes, or until a toothpick inserted into the center of the cake comes out clean, indicating it’s fully baked. The top should be golden brown, and the edges will begin to pull slightly away from the sides of the pan.
Step 5: Cool and Flip
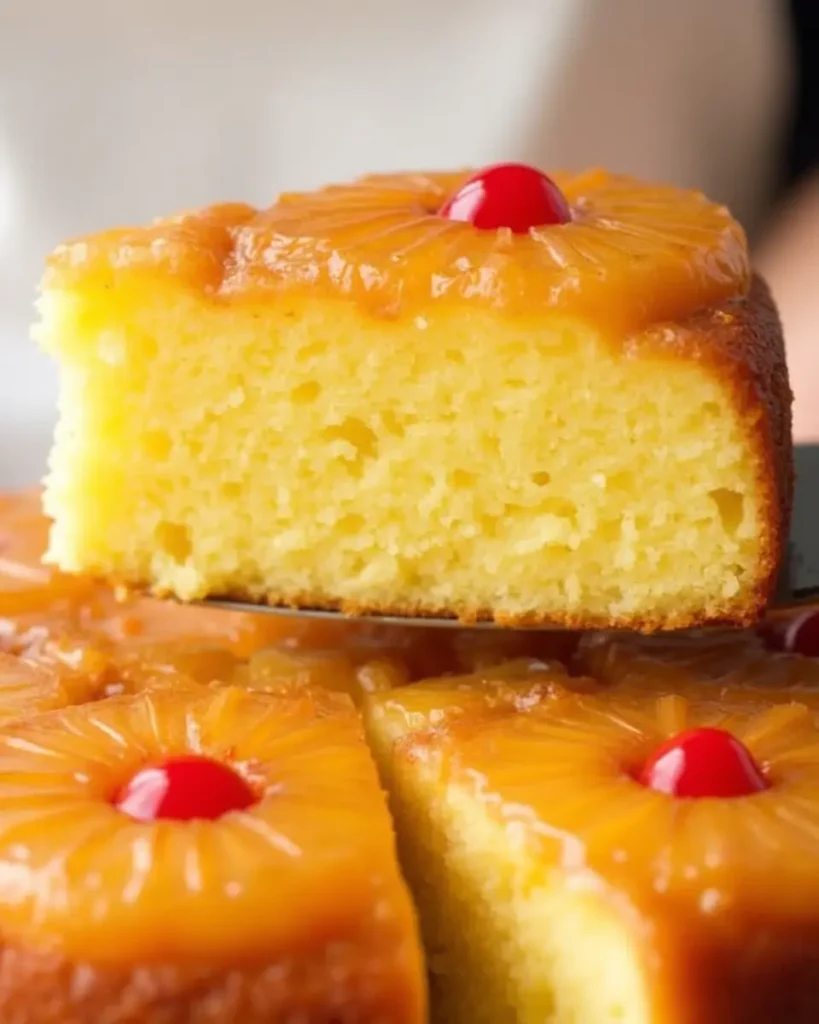
Allow the cake to rest in the pan for 10–15 minutes to set and make it easier to release without breaking. Place a serving plate or cake stand over the pan, then (carefully!) flip everything over in one smooth motion. Carefully remove the pan to unveil the glossy topping beneath.
Tips for the Perfect Upside Down Cake
While a pineapple upside down cake is relatively simple to make, a few smart tips can elevate your results from good to absolutely stunning. Whether you’re baking it for a party or just to treat yourself, here’s how to make sure it turns out perfect every single time.
1. Dry Your Pineapple & Cherries
This is one of the most common mistakes. Excess moisture from canned fruit can make the topping soggy and prevent proper caramelization. After draining, pat the pineapple slices and cherries dry with a paper towel before placing them in the pan.
2. Use Room-Temperature Ingredients
Before mixing, ensure that your butter, eggs, and milk are at room temperature. This helps the batter come together smoothly, leading to a more even rise and better texture.
3. Flip With Confidence
The trickiest moment is flipping the cake. Let it cool just long enough (about 10–15 minutes), then invert it while it’s still warm. Waiting too long can cause the caramelized sugar to harden and cling to the pan.
4. Grease Every Corner
Even though there’s butter in the base, it helps to lightly grease the sides of the pan to prevent sticking. A light spray of non-stick baking spray ensures an easy release.
5. Don’t Overbake
Overbaking can dry out the cake. Start checking it around the 40-minute mark. The cake should spring back lightly when touched and pull slightly away from the edges.
With these little details in mind, your pineapple upside down cake will turn out irresistibly golden, moist, and picture-perfect — every time.
Serving Suggestions
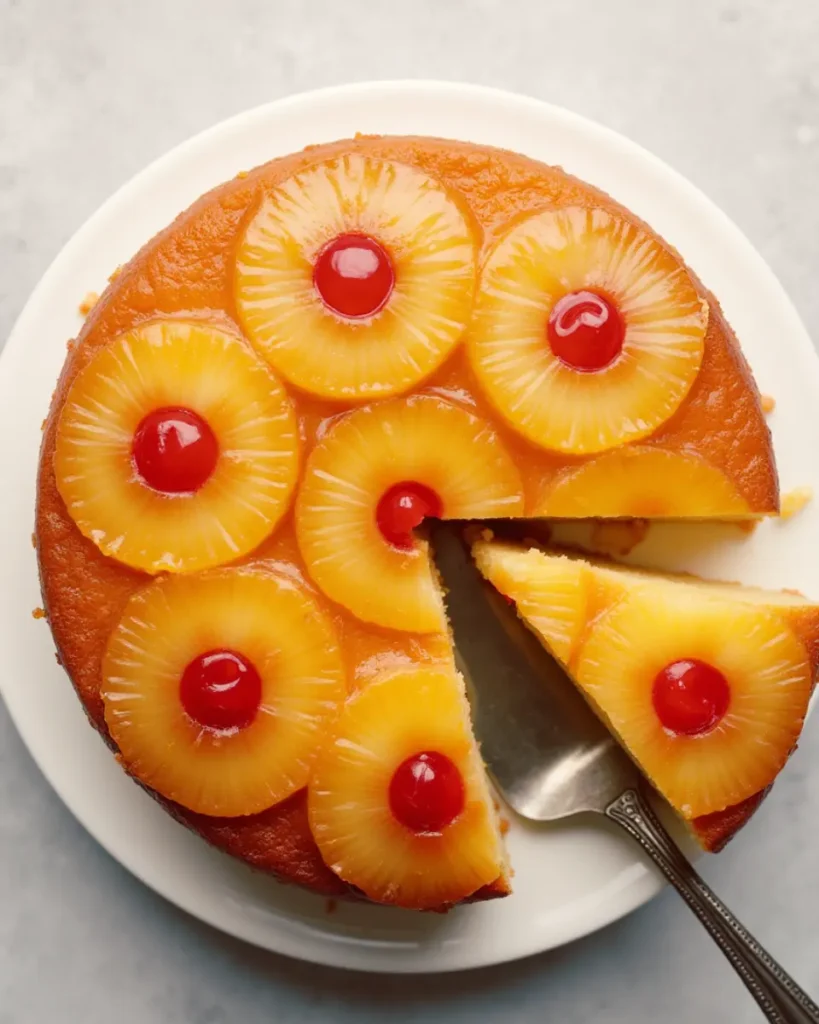
When your pineapple upside-down cake turns golden and glossy and flips perfectly, it’s ready to serve! This cake is a showstopper on its own, but pairing it thoughtfully can turn it into a full dessert experience.
Best Way to Serve It
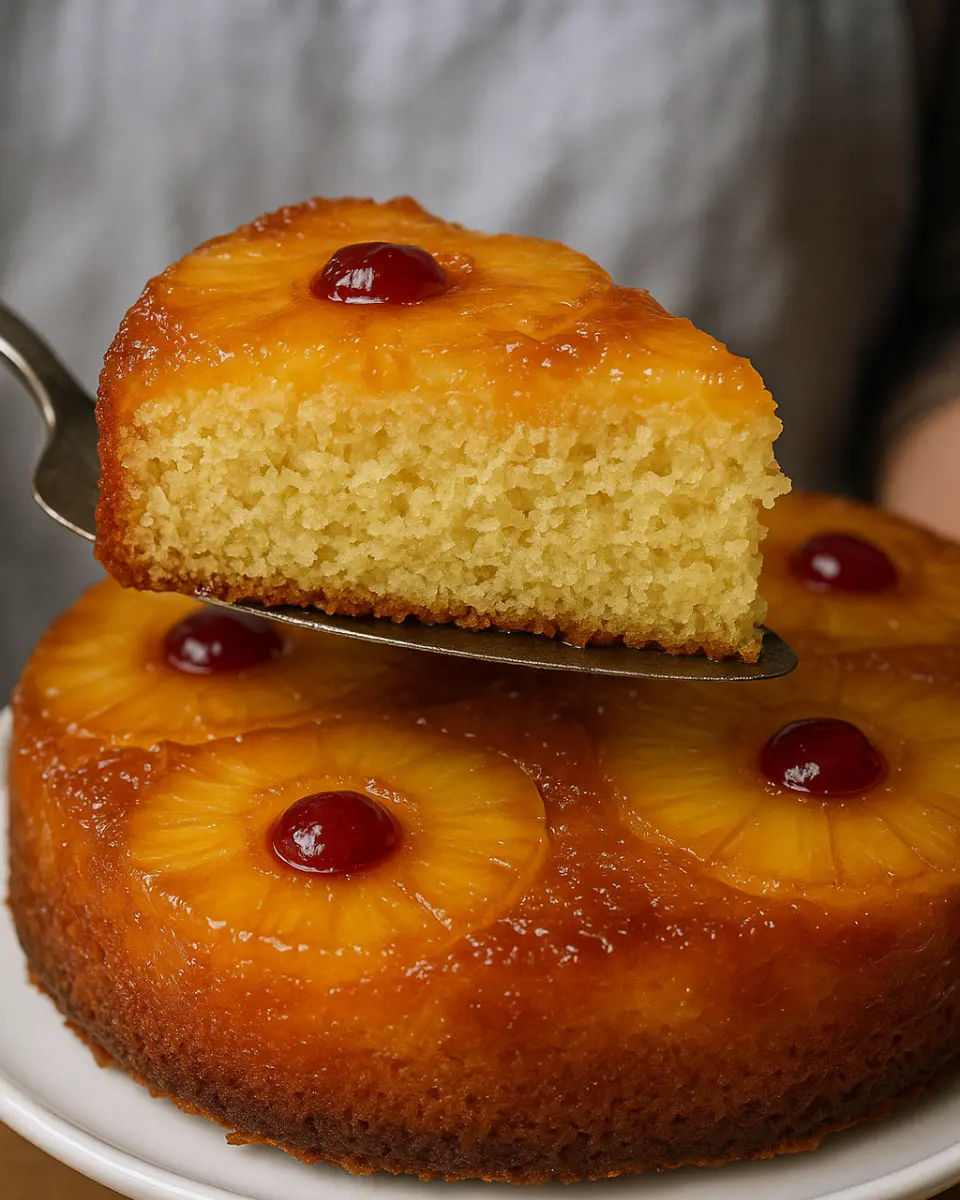
This cake is delightful served warm or at room temperature.. Serving it warm brings out the gooey brown sugar topping and makes the cake extra soft and aromatic. If you’ve made it ahead of time, a quick zap in the microwave or a few minutes in a low oven can bring back that just-baked feel.
What to Pair It With
- Vanilla ice cream – The creamy contrast with the caramelized topping is chef’s kiss
- Whipped cream – Light and airy, a dollop on top adds a touch of elegance
- Toasted coconut – For a tropical twist, sprinkle a little on top right before serving
- Coffee or tea – The sweet richness of the cake pairs beautifully with a bold espresso or a spiced chai
No matter how you serve it, this cake never fails to impress.
Storage, Freezing & Make-Ahead Tips
One of the best things about pineapple upside down cake is that it stores well — and it even tastes better the next day as the flavors meld together. Here’s how to keep it fresh and delicious whether you’re planning ahead or saving leftovers.
Storing Leftovers
Let the cake cool fully before you cover it. You can store it:
- Keep it at room temperature, wrapped in foil or plastic, for up to two days.
- In the refrigerator for up to 5 days. Place it in an airtight container to maintain moisture and prevent fridge odors from affecting the flavor.
Tip: If the cake is stored in the refrigerator, let it come to room temperature for 15–20 minutes before serving, or microwave individual slices for about 10 seconds to warm them up.
Freezing Instructions
Yes, you can freeze it! Once cooled, wrap the cake securely in plastic wrap followed by aluminum foil. You can keep it in the freezer for as long as three months.
To thaw, move it to the refrigerator overnight. Reheat individual slices as needed.
Make-Ahead Tips
Feel free to bake the cake the day before and keep it covered at room temperature. For even earlier prep, bake it, freeze it, and then thaw it on the day of serving for an easy, stress-free dessert.
Recipe Variations
One of the things we love most about pineapple upside down cake is how easy it is to personalize. Whether you’re working with dietary needs or just want to mix things up, these variations will keep your cake game fresh and exciting.
Mini Pineapple Upside Down Cakes
Use a muffin tin or mini cake pans to create individual servings — perfect for parties or portion control. Just be sure to cut the pineapple rings smaller or use crushed pineapple for a better fit.
Try Different Fruits
No pineapple? No problem. This cake works beautifully with other fruits:
- Peaches – Thin slices or canned halves make for a juicy, southern-style twist.
- Mango – Adds a tropical, slightly floral flavor.
- Plums or apples – Great for a fall version with a dash of cinnamon.
- Berries – A mix of raspberries and blackberries creates a beautiful color contrast.
Make It Vegan
Swap the butter for vegan margarine or coconut oil, and use a plant-based milk. Replace the eggs with:
- ½ cup applesauce
- 2 flax eggs (2 tbsp ground flax + 6 tbsp water)
Gluten-Free Option
Use a 1:1 gluten-free flour blend with xanthan gum. Make sure your baking powder is certified gluten-free, and you’re good to go!
These swaps and ideas let you enjoy the classic charm of an upside down cake, with just the right twist for your taste or needs.
Frequently Asked Questions
Can I use fresh pineapple instead of canned?
Absolutely! Fresh pineapple adds an even brighter flavor. Just slice it thinly and remove the core. Make sure to pat the slices dry before arranging them in the pan to avoid excess moisture that can affect the topping.
Can I make the cake ahead of time?
Yes — this cake is a great make-ahead dessert. You can bake it the night before, let it cool completely, and store it covered at room temperature. In fact, the flavor often deepens after resting for several hours.
Why did my topping stick to the pan?
This can happen if the cake cools too much before flipping. Let the cake rest for 10–15 minutes, then flip while it’s still warm. Also, ensure you’ve buttered the pan well and evenly spread the brown sugar base.
Can I freeze pineapple upside down cake?
Yes! Once fully cooled, wrap it tightly in plastic wrap and foil. It can be frozen for up to 3 months. Thaw in the fridge overnight and warm slightly before serving.
Pineapple Upside Down Cake
Ingredients
For the Topping:
- ¼ cup 60g unsalted butter
- ½ cup 100g light brown sugar
- 7 –8 pineapple slices canned or fresh
- Maraschino cherries optional
For the Cake Batter:
- 1½ cups 190g all-purpose flour
- 1½ tsp baking powder
- ¼ tsp salt
- ½ cup 115g unsalted butter, softened
- ¾ cup 150g granulated sugar
- 2 large eggs
- 1 tsp vanilla extract
- ½ cup 120ml milk or buttermilk
Instructions
- Preheat oven to 350°F (175°C). Grease a 9-inch round cake pan or cast-iron skillet.
- Melt ¼ cup butter in the pan. Sprinkle ½ cup brown sugar evenly over the butter Arrange pineapple slices and optional cherries in a single layer.
- In a bowl, whisk together flour, baking powder, and salt.
- In another bowl, cream butter and sugar until light and fluffy. Beat in eggs and vanilla extract.
- Alternate adding the flour mixture and milk, beginning and ending with flour. Mix just until combined.
- Spoon batter gently over the pineapple layer and smooth the top.
- Bake for 40–45 minutes, until golden and a toothpick inserted in the center comes out clean.
- Let cool for 10–15 minutes. Invert the cake onto a plate, remove the pan, and serve warm or at room temperature.
Notes
- Use fresh pineapple for extra flavor — just slice thin and pat dry.
- Let the cake cool slightly before flipping to avoid sticking.
- Store at room temperature for 2 days or refrigerate up to 5 days.
- Freezes well for up to 3 months — thaw overnight before serving.


